
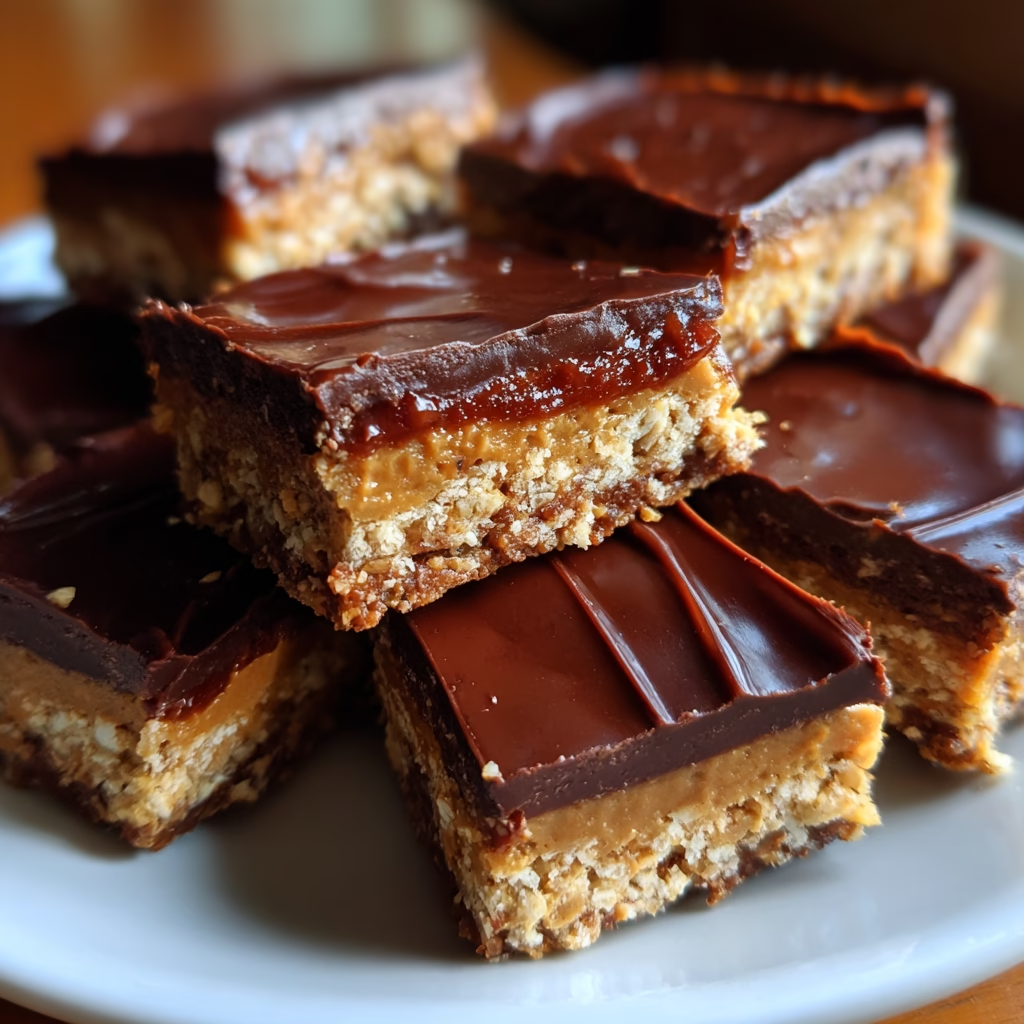
As the sun sets and the aroma of home cooking fills the air, there’s something so comforting about the idea of a homemade treat. No-Bake Chocolate Peanut Butter Bars embody that warm, nostalgic feeling perfectly. Picture a rich, creamy layer of peanut butter on top of a delightful chocolate crust.
These bars are a lover’s dream for both chocolate and peanut butter enthusiasts alike. With every bite, you are embraced by familiar flavors that invoke childhood memories of snack time, dessert after dinner, or simply a sweet indulgence during a busy day.
Imagine coming home after a long day, yearning for something sweet but knowing you don’t have the time or energy to whip up an elaborate dessert. The beauty of No-Bake Chocolate Peanut Butter Bars is that they fit seamlessly into this scenario.
They are quick to prepare, requiring no oven time, meaning you can enjoy a rich dessert in a fraction of the time it would take for traditional baked goods. Plus, they are bursting with flavor, combining the rich earthiness of peanut butter with the luscious sweetness of chocolate.
More than just a dessert, these bars serve as a testament to the magic of simplicity in cooking. With just a handful of ingredients and minimal effort, you can create something that feels both indulgent and homemade. For busy cooks or anyone who craves a moment of sweetness amidst their whirlwind life, these No-Bake Chocolate Peanut Butter Bars are the perfect solution. Let’s dive deeper into why this recipe should find a permanent home in your kitchen.
Why You’ll Love This No-Bake Chocolate Peanut Butter Bars Recipe
First and foremost, these No-Bake Chocolate Peanut Butter Bars are incredibly approachable. Whether you consider yourself a novice in the kitchen or a seasoned pro, you can whip these up without any stress. There’s no need for intense measuring or complicated techniques. If you can stir, mix, and layer, you’re ready to create a delightful treat.
Moreover, they are comfort food in the truest sense. The combination of peanut butter and chocolate is a classic that never disappoints. They evoke a sense of nostalgia and warmth, reminding you of family gatherings, celebrations, or cozy evenings at home. Each bite offers a little escape, a moment to savor and enjoy.
Another reason to love this recipe is its flavor-packed nature. The creamy peanut butter blends beautifully with the rich chocolate, creating a balance that dances on your taste buds. Add in a hint of vanilla and a sprinkle of salt, and you are in dessert heaven. Your mouth may water at the thought of each layer harmoniously uniting with the others, creating an indulgent yet satisfying treat.
Perfect for busy days, you can prepare these No-Bake Chocolate Peanut Butter Bars in less than 30 minutes. And since they have to chill in the fridge for a while, you can easily multitask. Let them set while you unwind, finish work, or spend time with family. The simplicity takes the pressure off; there’s no need to hover over the stove or worry about timing.
Last but not least, this recipe is fuss-free. No complicated steps or elaborate equipment are required. You’ll need a mixing bowl, a spoon, and an 8×8 baking dish.
That’s it! The whole process is designed to be effortless, allowing you to create something delicious without the usual hassle that often comes with baking.
Ingredients You’ll Need
Ready to gather your ingredients? Get your favorite mixing bowl and check your pantry for these essentials that you probably already have!
| Ingredient | Amount |
|---|---|
| Graham cracker crumbs | 1 ½ cups |
| Unsweetened cocoa powder | ¼ cup |
| Powdered sugar | ½ cup |
| Salt | ¼ teaspoon |
| Unsalted butter, melted | ½ cup |
| Peanut butter | 1 cup |
| Vanilla extract | 1 teaspoon |
| Chocolate chips (semi-sweet or dark) | 1 cup |
| Milk | 2 tablespoons |
Substitutions & Variations
The beauty of No-Bake Chocolate Peanut Butter Bars is their flexibility. You can easily adapt the recipe to suit your taste or dietary needs. For example, if you’re looking for a gluten-free alternative, simply use gluten-free graham crackers. They will provide the same delightful crunch without compromising on flavor.
If you want to add an exciting twist, consider using crushed cookies instead of graham crackers. Oreo cookies create a delightful chocolate crust. Additionally, you can experiment with different types of nut butters.
Almond butter or sunflower seed butter can be excellent substitutes for those with peanut allergies. Each nut butter has unique notes that will allow you to create your own signature version of these No-Bake Chocolate Peanut Butter Bars.
Want to turn up the flavor even more? Add a sprinkle of sea salt on top of the chocolate layer before it sets. This salty-sweet contrast will elevate your bars to a whole new level. You can also enhance the experience with extra chocolate by folding in chocolate chips or chunks into the peanut butter layer for a double chocolate effect.
For those who enjoy a fruity twist, consider drizzling some raspberry or strawberry sauce over each bar before serving. The acidity of the fruit adds a refreshing touch that perfectly complements the richness of the bars.
The flexibility of No-Bake Chocolate Peanut Butter Bars allows you to customize your dessert experience effortlessly. If you enjoy inventive desserts, you might also want to check out our Pumpkin Chai Tiramisu (No-Bake, Cozy Fall Dessert) for a delightful twist!
Step-by-Step Instructions
Creating your No-Bake Chocolate Peanut Butter Bars is a simple and rewarding process. Follow these steps to create your sweet masterpiece:
- Prepare your baking dish: Line an 8×8-inch baking dish with parchment paper. This will prevent sticking and make it easier to lift out the bars later. An excellent tip from my experience is to leave some overhang on the sides for easy removal.
- Mix the base: In a large mixing bowl, combine the graham cracker crumbs, cocoa powder, powdered sugar, and salt. Stir until evenly mixed—this base will form the foundation of your bars, so ensure everything is well blended.
- Add the melted butter: Pour the melted butter into the dry mixture. Stir until it resembles a thick dough. It should hold together when squeezed. If it’s too dry, add a bit more melted butter.
- Press into the dish: Transfer the crumb mixture into the prepared baking dish. Using your fingers or the bottom of a measuring cup, firmly press the mixture down into an even layer. This will create a solid base for your bars.
- Make the peanut butter layer: In a separate bowl, combine the peanut butter, vanilla extract, and a pinch of salt. Mix until smooth and creamy. This will be the top layer of your bars, and trust me, it’s utterly delicious!
- Spread the layer: Evenly spread the peanut butter mixture over the crust layer. Use a spatula or the back of a spoon to ensure it’s perfectly level. You want each bite to have a good balance of flavors.
- Melt the chocolate: In a microwave-safe bowl, combine the chocolate chips and milk. Microwave in 20-second intervals, stirring after each interval, until fully melted and smooth. Be careful not to overheat the chocolate.
- Top with chocolate: Pour the melted chocolate over the peanut butter layer. Spread it evenly, covering the entire surface. This chocolate layer is the final touch that brings everything together.
- Chill: Place the baking dish in the refrigerator and allow it to chill for at least 2 hours. This waiting period is essential as it helps the bars set properly. It also allows the flavors to meld beautifully.
- Slice and serve: Once set, lift the bars out of the dish using the parchment paper overhang. Slice into squares or rectangles as preferred. Enjoy your delicious No-Bake Chocolate Peanut Butter Bars!
Pro Tips for Success
- Make sure your ingredients are at room temperature for easier mixing, especially the peanut butter.
- Use high-quality chocolate for melting, as the flavor will shine through in the final product.
- Press the crust evenly and firmly for a sturdy base that won’t crumble when slicing.
- Allow the bars to chill longer if you prefer a firmer texture.
- Experiment with different toppings—crushed nuts, coconut flakes, or even a drizzle of caramel can add exciting layers of flavor.
- Store leftovers in an airtight container in the fridge for up to a week—these bars get even better after a day or two!
- For a beautiful presentation, dust the top with a bit of cocoa powder or powdered sugar before serving.
Using high-quality ingredients is key to elevating your no-bake dessert experience. For another flavorful option, don’t miss out on our No-Bake Pumpkin Cheesecake Bars with Biscoff Crust, which offers a unique taste sensation!
Storage & Reheating Tips
To keep your No-Bake Chocolate Peanut Butter Bars fresh, store them in an airtight container in the refrigerator. They will last up to a week, making them a great treat for those days when you need a little pick-me-up. If you want to keep them longer, you can freeze the bars!
Wrap them tightly in plastic wrap and then in foil, or place them in a freezer-safe container. They can be frozen for up to three months.
When you’re ready to enjoy some, pull them out of the freezer and let them thaw in the fridge for a few hours. If you prefer a warm treat, you can always microwave a piece for about 10-15 seconds, just to take the chill off while keeping the amazing flavor intact.
What to Serve With This Recipe
Your No-Bake Chocolate Peanut Butter Bars pair perfectly with several delightful accompaniments. Here are a few ideas to elevate your dessert experience:
- A scoop of vanilla ice cream: The creamy, cold texture of ice cream complements the rich bars for a delightful contrast.
- A dollop of whipped cream: Top with fresh whipped cream for lightness that balances out the rich flavor of the bars.
- Fresh fruit: Serve with sliced bananas or strawberries to add freshness and a pop of color on your plate.
- Chocolate sauce: Drizzle some chocolate sauce on top for those who can’t get enough chocolate!
- A strong cup of coffee: The bitterness of coffee pairs wonderfully with the sweetness of the bars, making for a balanced treat.
To complement your No-Bake Chocolate Peanut Butter Bars, consider pairing them with refreshing toppings. For more creative side dishes, explore our Honey Garlic Chicken Bites, which are perfect for a balanced meal!
FAQs
Can I use natural peanut butter in this recipe?
Absolutely! Natural peanut butter works well. Just ensure it’s well-stirred and not too runny, or your bars may be too soft.
How long do these bars last?
When stored properly, No-Bake Chocolate Peanut Butter Bars can last up to a week in the fridge or up to three months in the freezer.
Can I make these bars vegan?
Yes! Use dairy-free chocolate chips and swap honey or regular butter with vegan versions for an excellent vegan treat.
What if I can’t find graham crackers?
No worries! You can substitute with any plain cookies, like digestive biscuits or even crushed oatmeal cookies.
Are No-Bake Chocolate Peanut Butter Bars gluten-free?
They can be gluten-free if you use gluten-free graham crackers or other gluten-free cookies in the base!
No-Bake Chocolate Peanut Butter Bars are a simple yet indulgent dessert that combines rich chocolate and creamy peanut butter for a satisfying treat. These bars exemplify the ease and joy of making a delicious dessert at home, showcasing a variety of flavors that make them a favorite among many. Learn more about this delightful treat in the dessert category.
Nutrition Information (per serving)
| Nutrition Factor | Amount |
|---|---|
| Calories | 200 |
| Protein | 5g |
| Carbohydrates | 25g |
| Fat | 10g |
| Sugar | 12g |
| Fiber | 2g |
| Sodium | 80mg |
In conclusion, the journey to create these No-Bake Chocolate Peanut Butter Bars is not just about making a dessert; it’s about crafting a moment to pause, savor, and share. Whether you enjoy them as an everyday snack or a special treat, they cater to everyone craving something sweet and satisfying. So, gather your ingredients, roll up your sleeves, and embrace the joy of creating these delightful bars!

No-Bake Chocolate Peanut Butter Bars
Ingredients
- 1 ½ cups graham cracker crumbs
- ¼ cup unsweetened cocoa powder
- ½ cup powdered sugar
- ¼ teaspoon salt
- ½ cup unsalted butter, melted
- 1 cup peanut butter
- 1 teaspoon vanilla extract
- 1 cup chocolate chips (semi-sweet or dark)
- 2 tablespoons milk
Instructions
- Line an 8x8-inch baking dish with parchment paper.
- In a large mixing bowl, combine the graham cracker crumbs, cocoa powder, powdered sugar, and salt.
- Pour the melted butter into the dry mixture and stir until it resembles a thick dough.
- Press the mixture evenly into the prepared baking dish.
- In a separate bowl, mix the peanut butter, vanilla extract, and a pinch of salt until smooth.
- Spread the peanut butter mixture evenly over the crust.
- Melt the chocolate chips and milk together in a microwave-safe bowl, stirring until smooth.
- Pour the melted chocolate over the peanut butter layer and spread it evenly.
- Chill in the refrigerator for at least 2 hours until set.
- Lift the bars out using the parchment paper and slice into squares.