When it comes to baking a kefir sheet cake, precise kefir sheet cake measurements are absolutely crucial. Accurate measurements are the foundation of a moist, fluffy, and perfectly balanced cake. Without understanding the correct kefir sheet cake measurements, you risk ending up with a dessert that’s too dense, too dry, or lacking the perfect flavor.
This guide is your ultimate resource for mastering kefir sheet cake measurements. From ensuring the proper ratios of wet to dry ingredients to adjusting for different pan sizes, every aspect of baking a kefir sheet cake hinges on getting the measurements right. Precise kefir sheet cake measurements allow you to take full advantage of kefir’s tangy flavor and its ability to create a tender crumb.
By focusing on accurate kefir sheet cake measurements, you’ll ensure consistent results every time you bake. Whether you’re an experienced baker or trying your first kefir sheet cake, this guide will help you elevate your baking skills. Ready to unlock the secrets of flawless kefir sheet cake measurements? Let’s get started!
What Makes Kefir Perfect for Sheet Cake Baking?
What Is Kefir and Why Use It in Sheet Cakes?
Kefir, a fermented dairy product made by combining kefir grains with milk, is a powerhouse ingredient for baking. Its origins trace back to the Caucasus Mountains, where it’s been celebrated for its tangy flavor and probiotic benefits. Unlike yogurt, kefir is thinner and packed with live bacteria, making it a secret weapon for achieving perfectly moist and flavorful sheet cakes.
Benefits of Using Kefir in Sheet Cakes
Kefir brings multiple advantages to your baking:
- Boosts Moisture: Its creamy consistency ensures your sheet cake stays soft and tender.
- Balances Flavor: The tanginess of kefir complements the sweetness of cakes, adding depth.
- Improves Texture: Kefir reacts with baking soda to create air pockets, resulting in a light, fluffy texture.
- Adds Nutritional Value: Probiotics, calcium, and B vitamins give your sheet cake a healthy twist.
Why Kefir Is Better Than Other Dairy Options
Compared to buttermilk or yogurt, kefir provides more probiotics and a thinner consistency, perfect for creating a delicate crumb in sheet cakes. It’s also less likely to curdle, ensuring a smoother baking process and better results.
Baking Basics: How to Get Your Measurements Right
Achieving a moist, flavorful cake depends on using the correct measurements. Whether you’re trying a new recipe or perfecting your favorite treat, it’s essential to balance ingredients and choose the right tools. Let’s delve into the measurements and techniques that will elevate your baking game!
Finding the Perfect Pan Size
Your pan choice can influence how evenly your cake bakes and how many servings you can expect. Here’s a quick guide to pan dimensions and portions:
- Large Pan (Full Size)
- Dimensions: 18 x 24 inches
- Servings: Makes 48 to 96 portions, depending on slice size
- Recipe Scaling: Multiply the standard recipe by 2.5 or 3
- Medium Pan (Half Size)
- Dimensions: 12 x 18 inches
- Servings: 24 to 48 portions
- Recipe Scaling: A single standard recipe works perfectly
- Small Pan (Quarter Size)
- Dimensions: 9 x 13 inches
- Servings: 12 to 24 portions, ideal for smaller groups
- Recipe Scaling: Use half a standard recipe
Key Ingredient Proportions for a Perfect Cake
Creating a light and fluffy cake requires balancing dry and wet ingredients. These measurements are a starting point for your next masterpiece:
- Flour: 2 ½ cups to build structure
- Sugar: 1 ½ cups for sweetness and moisture
- Kefir: 1 cup to add tanginess and softness
- Eggs: 2 large for binding the batter
- Butter or Oil: ½ cup to maintain a tender crumb
- Baking Powder or Soda: 1 ½ teaspoons for proper leavening
Tips for Scaling Recipes Like a Pro
Matching your ingredient amounts to your pan size ensures even baking and consistent flavor:
- Scale up for larger pans by multiplying ingredients as needed.
- Halve recipes for smaller pans without losing balance.
- Always maintain the original ratios of wet to dry ingredients to prevent issues with texture or flavor.
Step-by-Step Guide to Baking a Perfect Sheet Cake with Kefir

Now that you’ve nailed down the measurements and pan sizes, it’s time to bring everything together. This step-by-step guide will walk you through preparing, mixing, baking, and finishing your kefir sheet cake. Let’s break it down into manageable steps for better clarity.
Step 1: Get Everything Ready
Preparation is the foundation of successful baking. Before you start mixing, follow these steps:
- Gather Your Ingredients: Measure out all your dry and wet ingredients in advance. This ensures you won’t miss anything and keeps the process smooth.
- Preheat the Oven: Set your oven to 350°F (175°C). Proper preheating helps the cake bake evenly and thoroughly.
- Prepare the Pan: Grease the pan with butter or cooking spray, then line it with parchment paper to prevent sticking and ensure easy removal.
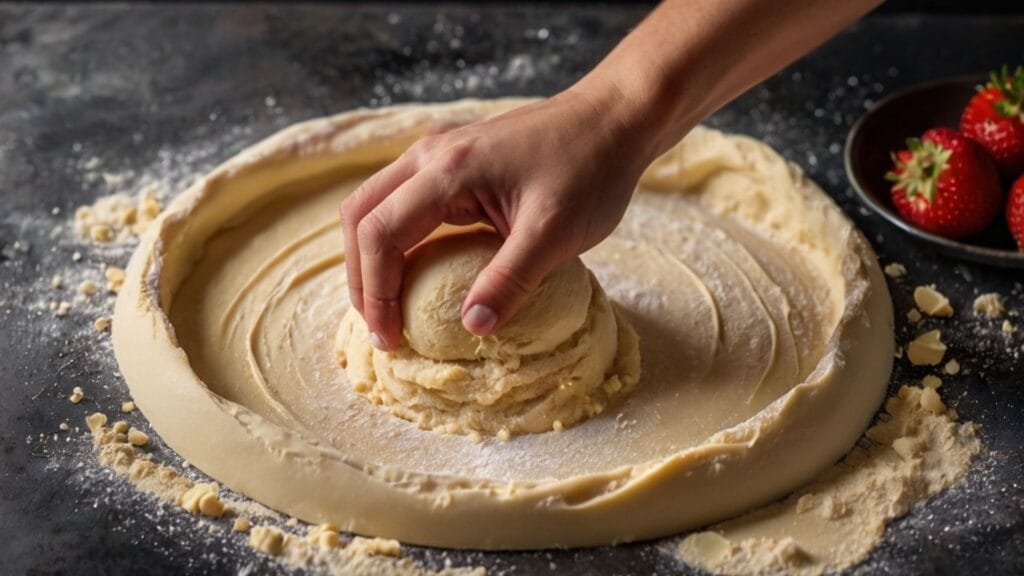
Step 2: Mixing the Batter
A well-prepared batter is key to a light, fluffy, and moist cake:
- Combine Dry Ingredients: In a large mixing bowl, whisk together the flour, sugar, baking powder (or soda), and a pinch of salt. Whisking helps distribute the leavening agents evenly.
- Mix Wet Ingredients: In a separate bowl, combine the kefir, eggs, and melted butter or oil. Blend until smooth. Kefir’s creamy texture not only adds moisture but also gives the batter a tangy flavor.
- Fold Everything Together: Gradually pour the wet mixture into the bowl of dry ingredients. Gently fold the ingredients until combined. Avoid overmixing, as it can make the cake dense rather than fluffy.
Step 3: Baking the Cake to Perfection
Once your batter is ready, it’s time to bake:
- Pour the Batter: Evenly spread the batter into your prepared pan. Use a spatula to smooth the surface.
- Bake: Place the pan in the preheated oven. Bake for 25-30 minutes if using a quarter sheet pan, or 35-40 minutes for a half sheet pan. For larger pans, adjust the baking time as needed.
- Test for Doneness: Insert a toothpick or skewer into the center of the cake. If it comes out clean or with a few dry crumbs, the cake is fully baked.
Step 4: Cooling and Decorating
The final touches make your kefir sheet cake truly irresistible:
- Cool Completely: Let the cake cool in the pan for 10 minutes. After that, transfer it to a wire rack to cool completely before decorating.
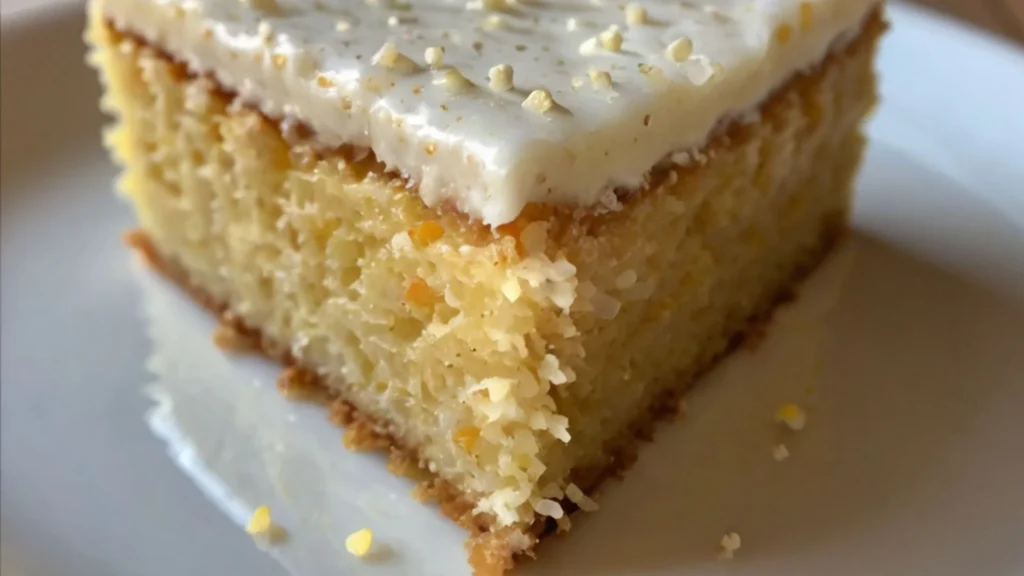
- Decorate: Choose a topping that suits your taste. Frost the cake with cream cheese icing, drizzle it with a simple glaze, or dust it with powdered sugar for a classic finish.
- Serve: Slice the cake into portions and enjoy the soft, tangy, and moist texture that kefir brings to this delightful dessert.
Creative Variations and Substitutions for Kefir Sheet Cake
A kefir sheet cake is already a delightful dessert, but you can take it to the next level by experimenting with flavors, textures, and ingredients. Whether you’re looking to accommodate dietary preferences or simply want to try something new, these creative variations and substitutions will inspire your next bake.
Experiment with Flavors
Enhance the base flavor of your kefir sheet cake by incorporating additional ingredients:
- Citrus Zest: Add a tablespoon of lemon, lime, or orange zest to the batter for a bright, tangy kick.
- Spices: Warm spices like cinnamon, nutmeg, or cardamom can add depth and richness.
- Vanilla or Almond Extract: A teaspoon of vanilla extract or almond extract enhances the cake’s aroma and flavor.
- Fruits: Fold in fresh or dried fruits like blueberries, cranberries, or chopped apples for bursts of sweetness.
Topping and Frosting Ideas
The right topping can elevate your sheet cake to a show-stopping dessert:
- Cream Cheese Frosting: The tangy creaminess pairs beautifully with the subtle kefir flavor.
- Citrus Glaze: A simple mix of powdered sugar and citrus juice creates a glossy, sweet finish.
- Chocolate Ganache: For chocolate lovers, a rich ganache adds decadence.
- Fresh Fruits: Top your cake with fresh berries or sliced fruits for a refreshing, natural touch.
- Nuts or Seeds: Sprinkle chopped almonds, walnuts, or sesame seeds for added crunch and texture.
Substitutions for Dietary Needs
Catering to specific dietary preferences or restrictions doesn’t mean sacrificing flavor:
- Gluten-Free Option: Substitute all-purpose flour with a gluten-free baking mix. Ensure the mix includes xanthan gum for proper structure.
- Dairy-Free Version: Use a plant-based kefir alternative, like almond or coconut kefir, and replace butter with coconut oil or a neutral-flavored vegetable oil.
- Sugar Alternatives: Swap white sugar for coconut sugar, honey, or a sugar substitute like erythritol for a lower-calorie option.
Add Textural Elements
Incorporate textures to make your kefir sheet cake even more interesting:
- Crunchy Layers: Add a layer of crushed graham crackers or nuts between the batter and frosting.
- Swirls: Create a marble effect by swirling in jam, chocolate, or cinnamon sugar before baking.
- Filling Options: Layer the cake with whipped cream, custard, or fruit preserves for an extra treat.
Seasonal Twists
Adapt your kefir sheet cake to match the season or occasion:
- Spring and Summer: Add fresh strawberries, lemon zest, or edible flowers.
- Fall and Winter: Incorporate pumpkin puree, warm spices, or a drizzle of caramel sauce.
- Holiday-Inspired: Decorate with themed toppings like peppermint pieces for Christmas or pastel sprinkles for Easter.
Baking Mistakes to Avoid for the Perfect Cake
Even with the best recipe in hand, small errors can lead to less-than-ideal results. When making a cake, avoiding common mistakes ensures a successful and delicious bake. Here’s how to prevent the most frequent missteps in the kitchen.
Measuring Ingredients Accurately
Baking is a science, and precise measurements are key to getting it right.
- Problem: Adding too much flour can result in a dense and dry texture.
- Solution: Spoon the flour into your measuring cup and level it with a knife instead of scooping directly.
- Problem: Guessing liquid measurements can throw off the balance of wet and dry ingredients.
- Solution: Use a liquid measuring cup for accuracy, especially for ingredients like kefir.
Mixing the Batter Properly
Overmixing or undermixing can greatly affect the cake’s texture.
- Problem: Overmixing creates too much gluten, leading to a rubbery cake.
- Solution: Stir gently and only until the ingredients are just combined. It’s fine if the batter has small lumps.
Using the Right Oven Settings
The oven plays a huge role in baking success.
- Problem: Incorrect oven temperatures can cause uneven baking or a burnt top.
- Solution: Preheat the oven to 350°F (175°C) and check the accuracy with an oven thermometer.
- Problem: Opening the oven door too early can cause the cake to sink.
- Solution: Avoid peeking during the first 20 minutes of baking.
Preparing the Pan Correctly
Skipping proper pan preparation can lead to frustration later.
- Problem: The cake sticks to the pan and breaks apart when removed.
- Solution: Always grease the pan thoroughly and line it with parchment paper for easy release.
Cooling and Handling the Cake
Patience is essential for a smooth finish.
- Problem: Moving the cake before it’s cool can result in crumbling.
- Solution: Allow the cake to cool in the pan for at least 10 minutes before transferring it to a wire rack to cool completely.
Substituting Ingredients Thoughtfully
Not all swaps work seamlessly in a recipe.
Solution: Stick with kefir or use buttermilk for similar results. For a dairy-free option, try almond or coconut kefir.
Problem: Using regular milk instead of kefir can make the cake less moist and tangy.
Final Tips for Perfecting Your Kefir Sheet Cake
Congratulations! You’re now equipped with all the knowledge needed to create a moist and fluffy kefir sheet cake. With the right measurements, preparation, and creativity, your cake will surely be a hit. Let’s review some key takeaways and additional tips to help you bake the perfect kefir sheet cake.
Recap of Key Takeaways
- Accurate Measurements Are Essential
- Use precise ratios of dry and wet ingredients, with kefir playing a critical role in adding moisture and tang to your kefir sheet cake.
- Scale your recipe correctly based on your pan size for even baking.
- Preparation Is Key
- Always preheat your oven, measure your ingredients carefully, and prepare your pan with grease and parchment paper. These steps are essential for a successful kefir sheet cake.
- Handle the Batter with Care
- Avoid overmixing to prevent a dense texture. Stir the batter just until combined to achieve the fluffy consistency that makes a kefir sheet cake stand out.
- Timing and Temperature Matter
- Follow the recommended baking times based on your pan size, and test for doneness using a toothpick. Timing ensures your kefir sheet cake bakes perfectly.
- Get Creative with Variations
- Experiment with flavors like citrus zest, warm spices, or fresh fruits. Don’t forget to try creative toppings like cream cheese frosting or a simple glaze to enhance your kefir sheet cake.
Final Tips for Success
- Room-Temperature Ingredients: Use room-temperature kefir, eggs, and butter to ensure smooth mixing and a consistent batter for your kefir sheet cake.
- Cooling Is Crucial: Allow the cake to cool completely before decorating or slicing to maintain its structure.
- Taste-Test Variations: Make smaller portions to test new flavors before scaling up to a full-size kefir sheet cake.
- Share Your Creation: Baking is always better when shared! Bring your kefir sheet cake to gatherings, and enjoy the compliments from friends and family.
By focusing on proper measurements, thoughtful preparation, and a touch of creativity, your kefir sheet cake will turn out delicious every time. Whether for a special event or a treat to enjoy at home, this recipe will always be a crowd-pleaser.
Happy baking, and enjoy every bite of your kefir sheet cake! 🌟🍰