
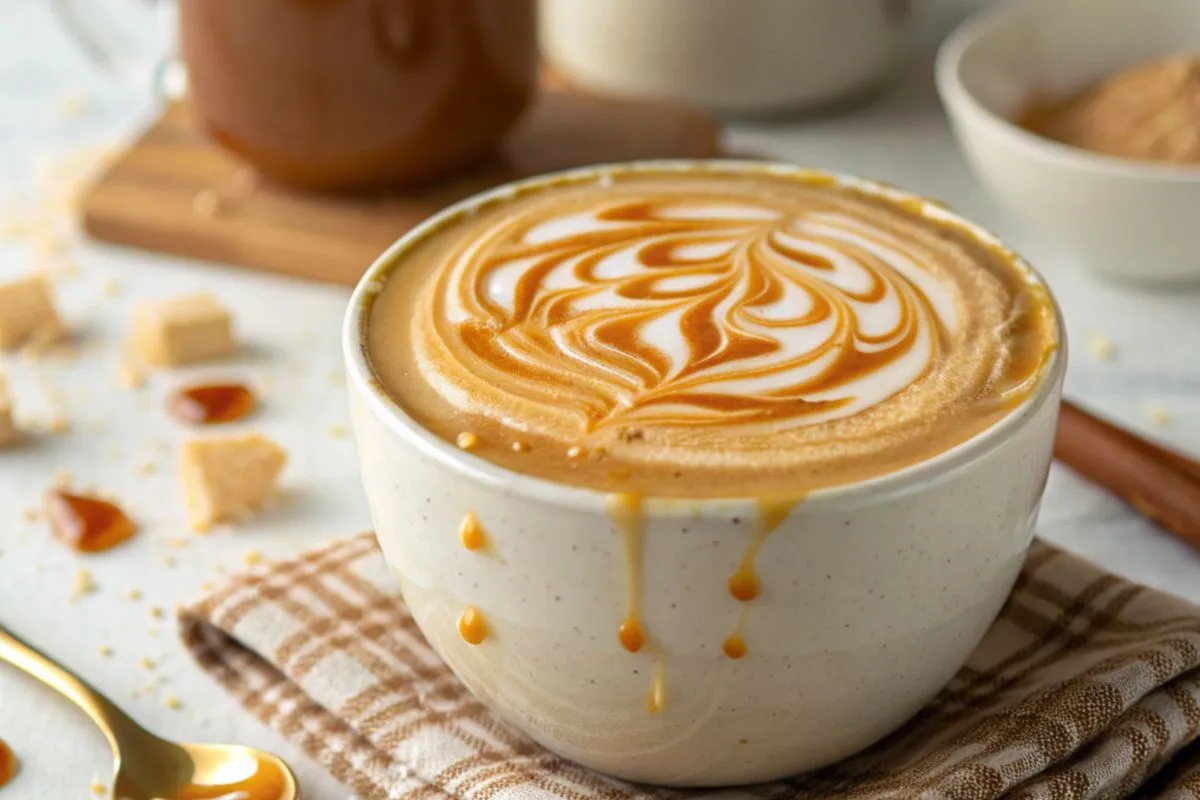
There’s something magical about that first sip of coffee in the morning, especially when it’s enhanced with a splash of rich, velvety caramel creamer. While store shelves are stocked with countless varieties of coffee creamers, nothing quite matches the charm and satisfaction of a homemade version. Crafting your own caramel coffee creamer not only saves you money in the long run but also gives you complete control over what goes into your morning brew. Say goodbye to the mysterious ingredients list filled with preservatives, artificial flavors, and additives you can’t pronounce.
Table of Contents
Why Make Your Own?
The difference between homemade and store-bought creamer is like comparing fresh-baked bread to the mass-produced loaves at the supermarket—there’s simply no competition. When you make your own caramel coffee creamer, you’re rewarded with an incomparable depth of flavor that commercial versions attempt to mimic but never quite achieve. The customization possibilities are endless, allowing you to adjust sweetness, creaminess, and flavor intensity to perfectly complement your preferred coffee beans.
Beyond the superior taste, creating your own creamer reduces your dependence on grocery store runs when you suddenly discover an empty bottle in the refrigerator. With a few pantry staples, you can whip up a fresh batch whenever needed, ensuring your morning ritual remains uninterrupted.

Ingredients
To create this liquid gold for your coffee, you’ll need:
- 1 can (14 oz) sweetened condensed milk
- 1/2 cup caramel sauce (homemade or high-quality store-bought)
- 1 tablespoon pure vanilla extract
- 1 1/2 cups milk or cream (whole milk creates a balanced richness, but half-and-half or heavy cream work beautifully for a more decadent option)
For those looking to elevate their creamer game even further, both the sweetened condensed milk and caramel sauce can be made from scratch. Homemade sweetened condensed milk involves simmering milk and sugar until reduced and thickened, while crafting caramel sauce requires careful caramelization of sugar followed by adding butter and cream. These extra steps require additional time but result in an even more extraordinary final product.
Equipment
Creating your caramel coffee creamer doesn’t require specialized equipment. You’ll need:
- A medium mixing bowl
- A whisk
- A measuring cup and spoons
- An airtight storage container or glass bottle with a tight-fitting lid
- A funnel (optional, but helpful for transferring to narrow-necked containers)

Caramel Creamer Recipe: Step-by-Step Instructions
Mixing Sweetened Condensed Milk and Caramel Sauce
Start by pouring the sweetened condensed milk into your mixing bowl. The thick, sweet base forms the foundation of your creamer, providing both sweetness and body. Add the caramel sauce and begin whisking immediately. The trick here is to use a methodical whisking technique—start slowly at first, gradually increasing speed as the caramel begins to incorporate. This prevents splashing while ensuring the caramel distributes evenly throughout the condensed milk. Continue whisking for approximately 1-2 minutes until the mixture appears uniform and silky smooth, with no visible streaks of caramel.
Adding Vanilla Extract and Milk or Cream
Once your caramel and condensed milk are beautifully married, it’s time to introduce the remaining ingredients. First, whisk in the vanilla extract, which adds depth and warmth to the caramel flavor. Then, gradually add your milk or cream in small increments, whisking continuously between additions. This methodical approach prevents lumps and ensures a smooth consistency throughout. The amount of milk can be adjusted slightly to achieve your preferred thickness—less for a more concentrated flavor that won’t dilute your coffee, or more for a lighter touch.
Whisking Until Smooth
The secret to a perfect creamer lies in the final whisking stage. Continue whisking vigorously for another minute after all ingredients have been combined, focusing on creating a completely homogeneous mixture. Hold your bowl up to the light occasionally to check for any remaining lumps or caramel streaks. If you notice any stubborn clumps persisting, transfer the mixture to your storage container, seal tightly, and shake vigorously. The enclosed space creates additional pressure that helps break down any remaining inconsistencies.
Storing the Caramel Coffee Creamer
Carefully pour your finished creamer into an airtight container. A glass bottle with a swing-top lid or a mason jar works exceptionally well, but any clean container with a reliable seal will suffice. If using a narrow-necked bottle, a small funnel prevents messy spills. Place your creamer in the refrigerator, where it needs to chill for at least one hour before use, allowing the flavors to meld and the mixture to reach its optimal consistency.
Tips for Success
Ingredient Quality
The quality of your ingredients directly impacts the flavor of your creamer. Whenever possible, opt for organic dairy products from local sources, which often contain higher butterfat content and more complex flavor profiles. For caramel sauce, either make your own using quality butter and cream or purchase a premium brand without corn syrup or artificial flavorings. Genuine vanilla extract (never imitation) makes a noticeable difference in the depth of flavor.
Adjusting Sweetness and Flavor
One of the greatest advantages of homemade creamer is the ability to customize to your exact preferences. For a less sweet version, reduce the caramel sauce to 1/3 cup or use homemade sweetened condensed milk with less sugar. To intensify the caramel notes, add 1/4 teaspoon of butter extract. For a more pronounced vanilla character, increase the extract to 1 1/2 tablespoons or split and scrape a real vanilla bean into the mixture.
Storage Tips
While any airtight container works, glass vessels maintain flavor integrity better than plastic, which can absorb odors and flavors over time. Before each use, give your creamer a good shake, as natural separation may occur without the commercial stabilizers found in store-bought versions. This separation is completely normal and doesn’t indicate spoilage.
Variations and Additions
Hazelnut Caramel Creamer
Transform your caramel creamer into a nutty delight by adding 1-2 teaspoons of hazelnut extract to the base recipe. For an adult version, substitute hazelnut liqueur such as Frangelico, using 1 tablespoon. The toasted nut flavor creates a beautiful complement to the buttery caramel notes.
Salted Caramel Creamer
The sweet-salty combination has captured the culinary world for good reason. Add 1/4 to 1/2 teaspoon of flaky sea salt (such as Maldon) to your creamer mixture. Avoid using table salt, which can impart a harsh, tinny flavor—fleur de sel or flaky sea salt provides a cleaner, more delicate salinity that enhances rather than competes with the caramel sweetness.
Spiced Caramel Creamer
Embrace seasonal warmth by incorporating spices into your creamer. A combination of 1/4 teaspoon cinnamon, a pinch of nutmeg, and a tiny pinch of cloves creates a cozy, aromatic profile perfect for autumn and winter mornings. For a holiday version, add a few drops of peppermint extract and a sprinkle of cinnamon for a festive twist.
Creative Ways to Use Your Creamer
Coffee Enhancer
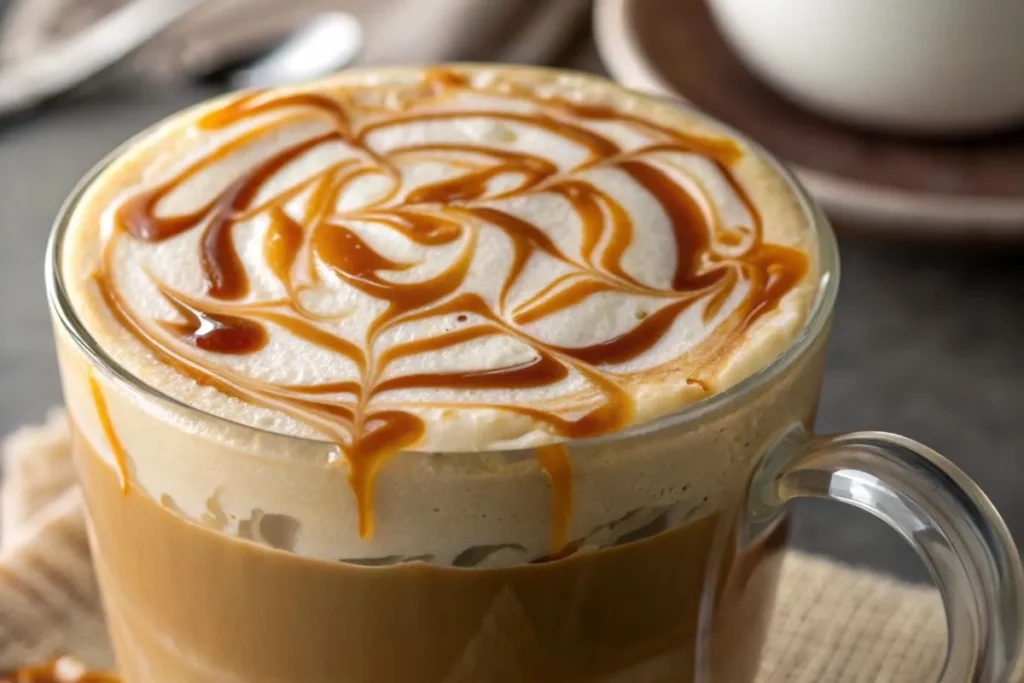
The most obvious use for your caramel creation is transforming ordinary coffee into a coffeehouse-quality beverage. Start with 1-2 tablespoons per cup and adjust to taste. The rich, homemade creamer works equally well in hot and iced coffee preparations, adding body and flavor without the artificial aftertaste of commercial products.
Dessert Topping
Think beyond the coffee cup! This versatile creamer makes an exceptional topping for pancakes, waffles, or French toast. Drizzle it over warm apple crisp or bread pudding, or use it as a decadent sauce for vanilla ice cream. The possibilities extend to countless desserts that benefit from a caramel accent.
Gift Idea
Homemade caramel creamer makes a thoughtful and unique gift. Transfer it to decorative bottles, add a handwritten label with ingredients and expiration date, and tie with rustic twine or ribbon. Include brewing recommendations and storage instructions for a personal touch your friends will appreciate far more than store-bought alternatives.
Other Ideas
Blend a splash into milkshakes for caramel undertones without excessive sweetness, or use as a cake soak for butter or vanilla cakes to create moist, flavorful layers in your baking projects. A tablespoon added to hot chocolate creates a caramel-chocolate hybrid that’s impossible to resist on cold evenings.
Storing Your Homemade Creamer
Refrigeration
Proper storage is essential for both safety and flavor preservation. Always keep your homemade creamer refrigerated in its airtight container, where it will remain fresh for up to two weeks. Before using, check for any signs of spoilage such as an off smell, unusual thickness, or visible mold. Give the container a gentle shake before each use to recombine any ingredients that may have separated naturally.
Freezing
For extended storage, pour portions of creamer into ice cube trays and freeze. Once frozen, transfer the cubes to a freezer-safe container or bag. These creamer cubes will keep for up to three months and can be added directly to hot coffee for instant flavor. Note that previously frozen creamer may have a slightly altered consistency after thawing, but the flavor remains intact.
Frequently Asked Questions (FAQs)
How long does homemade caramel coffee creamer last?
When stored properly in an airtight container in the refrigerator, homemade caramel creamer typically remains fresh for 10-14 days. Always check for signs of spoilage before using.
Can I use low-fat milk?
Yes, though the creamer will be thinner and less rich. If using low-fat milk, consider reducing the quantity by about 1/4 cup for a more concentrated flavor and texture.
Can I make it dairy-free?
Absolutely! Substitute the sweetened condensed milk with a coconut milk version (available commercially or make your own by reducing coconut milk with sugar). Replace regular milk with almond, oat, or coconut milk for a completely dairy-free alternative.
Can I use store-bought caramel sauce?
Yes, a high-quality caramel sauce works perfectly. Look for options without high-fructose corn syrup or artificial flavors for the best taste. Caramel ice cream topping is not recommended as it’s typically too thin and contains additives.
Can I adjust the sweetness?
Definitely! Reduce the amount of caramel sauce or use less sweetened condensed milk and more regular milk to decrease sweetness. For a less sweet base altogether, make your own sweetened condensed milk with less sugar.
How can I thicken the creamer?
If you prefer a thicker consistency, replace some or all of the milk with half-and-half or heavy cream. Alternatively, use less milk overall in the recipe for a more concentrated product.
What should I do if the creamer separates?
Separation is natural in homemade creamers without commercial stabilizers. Simply shake the container vigorously before each use to recombine the ingredients.
Concluding Thoughts
Creating your own caramel coffee creamer isn’t just about enhancing your morning brew—it’s about taking control of what goes into your body while expanding your culinary repertoire. The process is simple, the ingredients are accessible, and the results are undeniably superior to anything you’ll find on a supermarket shelf. As you become comfortable with the basic recipe, don’t hesitate to experiment with different flavors and additions to create your signature blend.
The joy of homemade creamer extends beyond the kitchen to the moments of pause in our busy lives—those precious minutes spent savoring a perfectly crafted cup of coffee. We’d love to hear about your experiences and variations! Share your creamer creations and how they’ve transformed your coffee routine in the comments below.